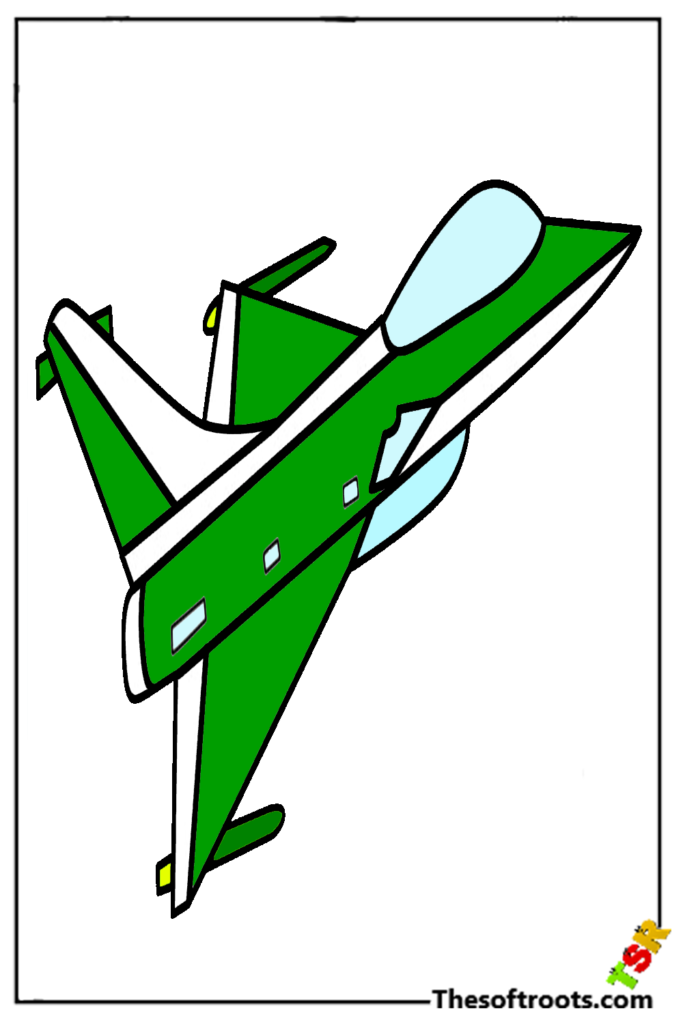
Jet
Any airplane you see addresses a massive accomplishment of human creativity. Impelling individuals out of sight with no sweat is quite possibly of the best mechanical advancement in the previous hundred years, and some airplanes take this considerably further. Planes would be an incredible illustration of this, as they address the pinnacle of flying innovation. Numerous airplane devotees love the speed and tastefulness of this airplane, and they frequently prefer to figure out how to draw a jet drawing.
Visit the Parrots Coloring pages.
On the off chance that you love them too and might want to know how you can make a few extraordinary fine arts including them. Then, at that point, look no further than this instructional exercise! Our bit-by-bit guide on the most proficient method to attract a jet only 6 simple tasks will show you how you can reproduce this unbelievable machine.
Stage 1 – Jet Drawing
As we start this aid on the most proficient method to draw a fly, we will start with the cockpit of the airplane as well as the beginning of the body. For the cockpit, we will draw a level, adjusted shape for certain sharp focuses at one or the other shape. The highest point of the glass will swell out a little. However, it will in any case be genuinely level as that will make the fly more smoothed out.
Then, at that point, we will draw the tip of the jet. To draw this, utilize a bent line with a very sharp tip right at the front. You can then polish off this step by defining a wavy boundary coming from the rear of the cockpit for the rear of the fly. That is everything we will in all actuality do in this step, and afterward, we can move to stage 2!
Stage 2 – Presently, draw the wing of the jet
A jet wouldn’t get much of anywhere without certain wings, so we will add the first of these in this step of your fly drawing. The wings of the fly are comprised of one or two segments, and you can draw the principal segment connected to the body by utilizing a few longer bent lines with a sharp point at the front. Then, at that point, draw the motor underneath it utilizing a few additional rakish lines.
You can then draw another part utilizing a few straight lines that draw nearer together the further they go on, and afterward polish off with a sharp oval shape toward its finish.
Stage 3 – Attract the tail of the fly this step
For this third step, our aide on the most proficient method to draw a jet. We will be dealing with the tail of the airplane. In the first place, we will draw the upward stabilizers of the tail. These will be a few tall, flimsy segments that you can draw for certain straight lines. Utilizing a ruler would be exceptionally useful for these stabilizers! Whenever they are drawn, we will then, at that point, add a flat side stabilizer. This will look the same in shape as the main ones, but it will jab out the side.
Draw another little segment at the exact back of the jet, and afterward, you can continue to stage 4 of the aide.
Stage 4 – Next, draw another wing and begin adding a few subtleties
Going on with this jet drawing, we will add one more wing to the airplane. This one will be comparably developed to the next one, but it will look more modest to show the point of view. Then, at that point, when the other wing is done we will add a few more modest subtleties. To start with, define a bent boundary close to the tips of the sharp oval segments at the closures of the wings.
Then, at that point, add a few additional bent lines close to the front of the glass cockpit and afterward polish off with another close to the tip of the fly. Then, at that point, you will be prepared for the last subtleties and contacts in the following stage.
Stage 5 – Add the last subtleties to your jet drawing
It’s nearly time for the last step, yet first, we have a couple of last subtleties to include in this step of our aid on the best way to draw a jet. In this step, we will delineate that planes are normally made of a few huge metal sheets associated with each other. To do this, we will define some boundary subtleties generally all through the airplane. Then, we will draw a few dabs close to these lines to show the bolts keeping the fly intact.
Whenever you have duplicated these subtleties, you can polish them off with your subtleties and thoughts! One thought is to draw a foundation, and if you do that, what setting will you make for this magnificent drawing?
Stage 6 – Polish off your fly drawing with a variety
This is the last step of your jet drawing, and in it, you can polish off for certain tones. We kept the varieties a touch more muffled in our reference picture, utilizing generally light blues and grays for certain little components of dull yellows. You could utilize comparable tones if you like this search for the fly. However, there are a lot more varieties that you could go for too! Planes can arrive in a wide range of various plans, so you have bunches of opportunities with how you could variety it in. Here and there they will try and be covered, so you could gaze upward and repeat that sort of example for one thought.
Also Read Article resources